Your Guide to Different Types of Wood Finishes
|
Time to read 6 min
|
Time to read 6 min
Having spent two decades working with wood finishes in my furniture restoration workshop, I've learned that choosing the right finish isn't just about protecting the wood - it's about bringing out its natural beauty.
Remember those first few projects where I stood in the hardware shop, utterly bewildered by the endless options? Well, today I'm going to share everything I've learned to help you navigate the wonderful world of wood finishes.
The world of wood finishes is rather like a painter's palette - each type brings its own unique characteristics to your project. Let's start with the basics (and I promise to make this as clear as possible without getting too technical).
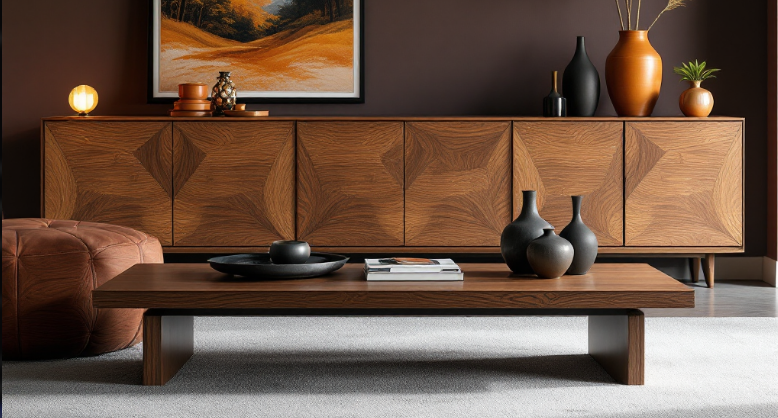
Oil-based finishes have always been my go-to for their rich, deep penetration into the wood grain. They're particularly brilliant for bringing out the natural beauty in woods like oak and walnut. Think of them as giving your wood a lovely warm hug - they seep deep into the fibres, offering protection from within.
Water-based finishes (my absolute favourite for quick projects) are becoming increasingly popular, and for good reason. They're environmentally friendly, dry quickly, and don't have that strong smell that can make your workshop feel like a chemistry lab. I remember the first time I used one - I was amazed at how clear the finish remained, perfect for maintaining the wood's natural colour.
Shellac, now there's a fascinating finish with quite a story (it's made from insect secretions - who knew?). It creates this gorgeous warm glow that's particularly stunning on antique pieces. I use it extensively in my restoration work, especially on Victorian furniture where authenticity is key.
Looking To Buy Solid Wood Furniture? Check Out Our Complete Solid Wood Furniture Collection
Let's look at the three main categories of finishes you'll encounter. I've organised this information into a handy reference table:
| Finish Type | Durability | Drying Time | Best Uses | Maintenance |
|---|---|---|---|---|
| Penetrating Oils | Medium | 24-48 hours | Furniture, Trim | Regular reapplication |
| Surface Finishes | High | 2-24 hours | Tables, Floors | Occasional recoating |
| Wax Finishes | Low | 1-2 hours | Decorative pieces | Frequent buffing |
Consider your project's purpose first. Is it a kitchen table that needs to withstand hot cups and occasional spills? Or is it a decorative wall panel that won't see much wear and tear?
The environment where your piece will live plays a crucial role in this decision.
The type of wood you're working with matters tremendously too. Some woods, like pine, are quite thirsty and benefit from pre-treatment before the final finish.
Others, like teak, have natural oils that can affect how different finishes adhere.
If you're just starting out in woodworking (as we all once did), I'd strongly recommend beginning with some foolproof options. Water-based polyurethane is particularly forgiving - it goes on easily, dries quickly, and mistakes can be readily fixed.
I still remember my first project with it - a small side table that turned out beautifully despite my novice status.
Here are the key characteristics that make a finish beginner-friendly:
Looking for Solid Wood Furniture? Check Out Our Complete Solid Wood Furniture Collection
As we wrap up our journey through the world of wood finishes, remember that choosing the right finish is both an art and a science. The key to success lies in understanding your specific needs and matching them with the appropriate finish type.
I've seen countless projects transformed from ordinary to extraordinary simply by selecting the perfect finish - it's rather like choosing the right frame for a beloved photograph.
Throughout my years in furniture restoration, I've learned that patience and preparation are just as important as the finish itself.
Always test your chosen finish on a scrap piece first, ensure your workspace is well-ventilated, and never rush the process. Remember that each layer needs proper drying time, and the final curing period is essential for achieving that professional-quality result we're all after.
Here are your key takeaways for mastering wood finishes:
Oil-based finishes penetrate deeper into the wood and typically provide a warmer colour. Water-based finishes dry faster and maintain a clearer appearance.
The frequency depends on wear and tear, but generally, heavily used surfaces need refinishing every 3-5 years, while decorative pieces might go 10+ years.
You'll need to remove the old finish completely in most cases, especially if switching between different types. Surface preparation is crucial for proper adhesion.
Marine-grade spar varnish or exterior-grade polyurethane offer the best protection against UV rays and moisture. These finishes are specifically designed for outdoor use.
The wood should be completely dry, sanded smooth, and free from dust or debris. Test the moisture content if possible - it should be below 12%.
Basic supplies include high-quality brushes, lint-free cloths, sandpaper of various grits, and appropriate safety equipment like gloves and a mask.
Sticky finishes usually result from either high humidity during application or insufficient drying time between coats. Proper ventilation and temperature control are essential.
Yes, light sanding between coats (except for oil finishes) helps create a smoother final surface and ensures better adhesion of subsequent layers.
Two-part polyurethane finishes, like those used in professional woodworking (see Wood finishing on Wikipedia ), offer the highest durability for heavy-use surfaces.
While most finishes feel dry within 24-48 hours, allowing a full week for curing ensures maximum durability and prevents damage from early use.
While some finishes can be combined for unique effects, it's generally best to stick with one type of finish per project to ensure compatibility.
Food-safe oils like mineral oil or specially formulated worktop oils provide good protection while being safe for food contact surfaces.
Using a pre-stain wood conditioner helps prevent blotchiness by evening out the wood's absorption rate. Always test on a scrap piece first.
White spots typically appear when moisture gets trapped under the finish, often from hot cups or water exposure. Prevention is key with appropriate sealers and coasters.


